HOWTO run the LipSync Pro Montreal module in Unity without “Module failed compatibility check” or “MFA application failed. Check your audio encoding or enable conversion” errors

We assume that you already have some experience developing in Unity. You also need to have to LipSync Pro asset installed from the Unity store.

Tutorial

  1. LipSync Pro Setup:
    First, you need to import the Lipsync Pro package into your Unity project.
Import LipSync Pro into your Unity project.

Then, run the AutoSync Setup Wizard (Window -> Robot Digital) to setup the paths and download the Montreal Forced Aligner.

Run the LipSync Pro Setup Wizard.
Download the Montreal Forced Aligner Module.

2. Once LipSync Pro is set up, open the Clip Editor:

Window → Robo Digital → LipSync Pro → OpenClip Editor

Open the clip editor.

3. Transcript:

Create [wav-filename].txt with the transcript and save it in the same folder as your .wav file.

Create transcript .txt file.

4. Select .wav Audio Clip in the Clip Editor.

The .wav audio file and the .txt transcript need to be in the same folder in the Assets directory of your current project.

Select the .wav file in the Clip Editor.

5. Check transcript in Edit → Clip Settings

6. Run AutoSync:

Go to AutoSync → Open AutoSync Window
Select Default (English) Preset
Untick Use Audio Conversion
Click Start Single Process

Check your settings in the AutoSync Window.

Check the phonemes that were generated. Adjust them manually if needed.

Generated phonemes after running the Montreal Forced Aligner.

7. Save Output:
File -> Save As
Choose location for your asset file.

5 Steps to Watch Videos With Subtitles From a DLNA Media Server.

Not able to watch your favorite movie or series on you TV?

Avoid “File Format Not Supported” or “Error Reading File” errors when watching videos from your DLNA server by converting them to the appropriate format.

What’s the problem?

Most often videos can be decoded by VLC or other video players , but Smart TVs (Samsung, Sony, Panasonic,…) and similar devices are not able to stream them from the DLNA server. This is because those devices do only support specific file formats. Therefore, the video files need to be converted before they can be streamed.

Which software is the best?

XMedia Recode is a great tool which is capable of converting a wide variety of different audio and video codecs. It also supports subtitles conversion such that they can be switched on/off on your TV. Many other video converts lack this feature.

Step-by-Step Guide

  1. Download XMedia Recode
    On Windows, download and install XMedia Recode.
Download the XMedia Recode version compatible with your system.

  1. Run program and select profile
    Start the program and select a profile according to the device you want to watch the video on. If you want to support most devices, select the Matroska Multimedia Container (.mkv).
Select the Matroska format for maximum support.

  1. Select video files
    Next, choose the files you want to convert. Check the “Video” and the “Audio” tab. If the file is already in the correct format you might want to choose “Copy” instead of “Convert” to save conversion time and keep the original video quality. Most likely, either video or audio need to be converted to be readable by your device. If you want to copy subtiles, they must be selected in the subtitles tab.
If the input video track already is in the correct format, select the “Copy” mode. If the video track is in an unsupported format, select the “Convert” mode instead.
Convert the audio to the supported format “Fraunhofer FDK ACC”.
Copy subtitles such that they can be switched on /off in the output video.

  1. Add Jobs
    Finally, add each file you want to convert as a job by clicking “Add to queue” in the top menu. Check you Queue and start the conversion by clicking “Encode”. Once converted the old files can be removed.
Double-check you jobs queue and start convertion!

  1. Enjoy watching!

Which Google Chromecast To Choose?

One important aspect when choosing a casting device is power consumption. In this article we compare the Chromecast 3 (2018 Version) with the Chromecast Ultra.

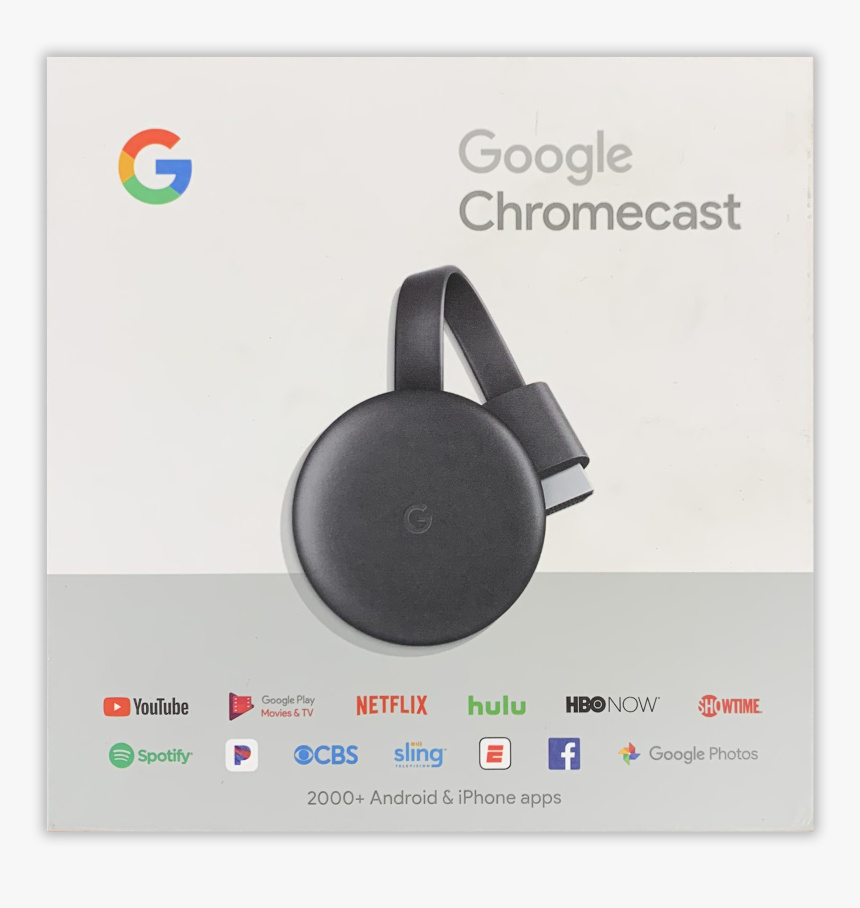
Google Chromecast 3.

In our tests, we compare idle and active wattage. Chromecast 3 needs about 0.6 W (watts) in idle while Chromecast Ultra consumes 1.7 W. When watching YouTube videos in HD, the consumption increases slightly to 1.0 W for Chromecast 3 and 2.0 W for Chromecast Ultra. The numbers are shown in Table 1.

Google Chromecast 3Google Chromecast Ultra
Idle0.6 W1.7 W
YouTube HD1.0 W2.0 W
Table 1: Comparing the power consumption of Chromecast 3 and Chromecast Ultra.

Conclusion

If you own a 4K TV, we recommend buying Google Chromecast Ultra. With a FullHD TV, Google Chromecast 3 is the better choice because of lower energy consumption. Note that Chromecast 3 can also be connected to your LAN using the Ethernet adapter if needed.